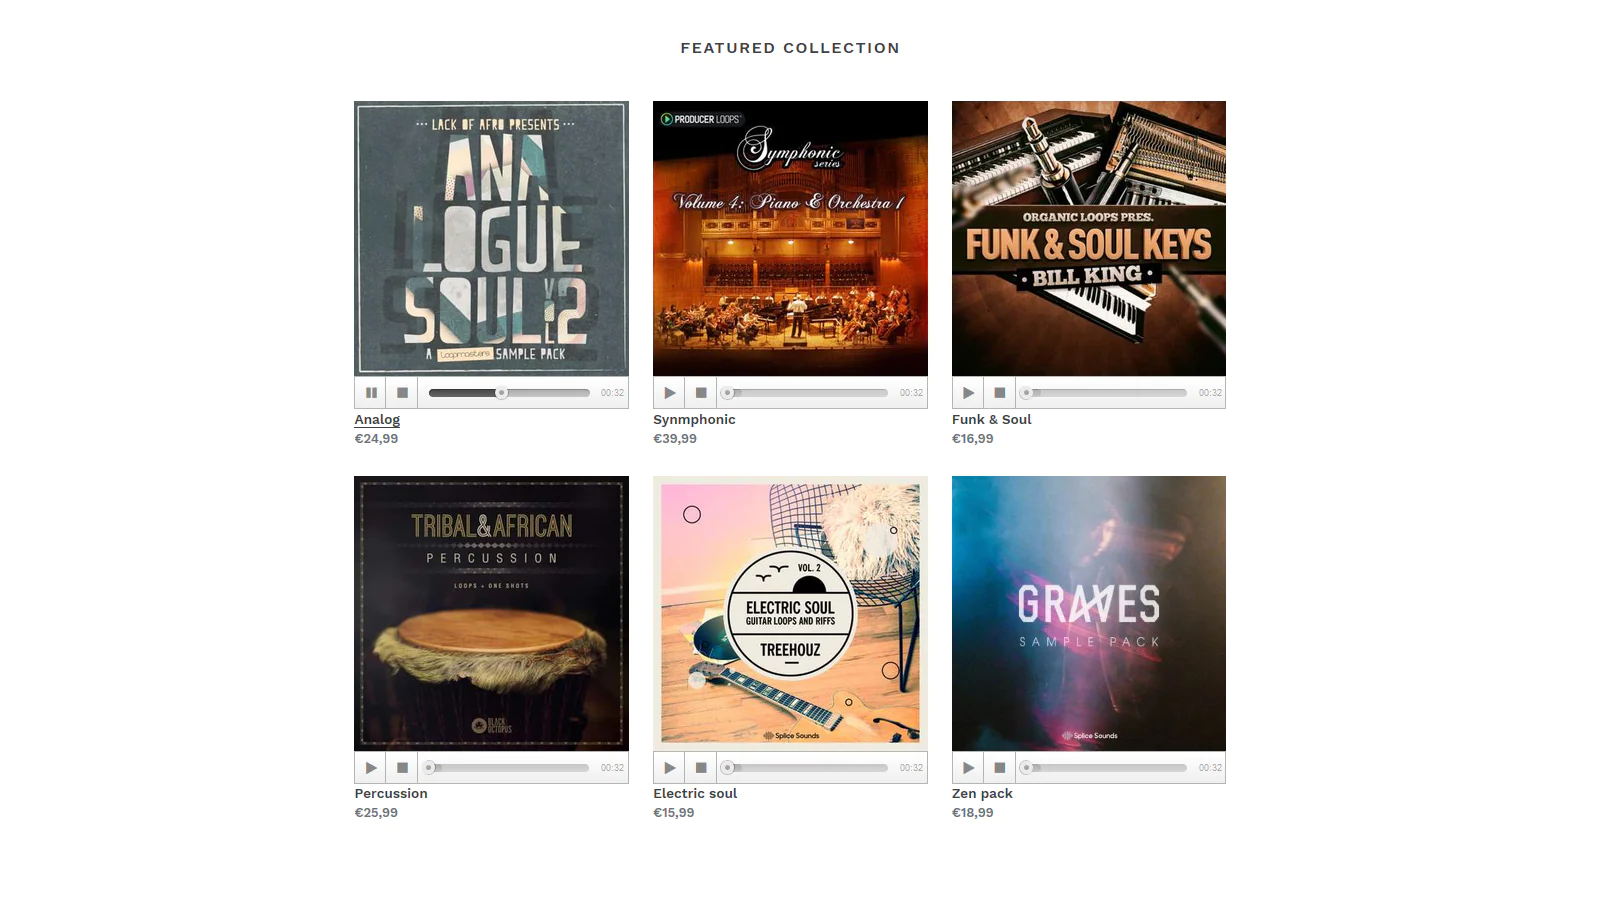
Are you looking to enhance your Shopify store by adding music players to your product and collection pages? With the Osaria app and the following step-by-step guide, you can easily integrate audio players into your Online Store 2.0-compatible theme. Music can engage your customers and create a unique shopping experience. So, let’s dive right in and learn how to make your online store more interactive and engaging!
Step 1: Install Osaria Music Player
Before we start, ensure that your Shopify theme is compatible with Online Store 2.0. If it is, follow these simple steps:
- Click Here to Install: Start by clicking the provided link to install the Osaria music player on your current theme.Alternatively, if you prefer a video tutorial, you can watch one on how to install the player.
Step 2: Assign Audio to a Product
Now that you’ve successfully installed the Osaria app, it’s time to assign audio to your products. Here’s how you can do it:
- Copy the following code snippet to your clipboard:liquidCopy code
<div style="max-width:600px">{% render 'osaria-player', product: product %}</div> - Paste the snippet in your sections/product-template.liquid file where you want your audio players to appear. Typically, this is just below the product.title tag, and the code may look something like this:liquidCopy code
<div class="grid__item {{ product_description_width }}"> <div class="product-single__meta"> <h1 itemprop="name" class="product-single__title">{{ product.title }}</h1> <div style="max-width:600px">{% render 'osaria-player', product: product %}</div> {% if section.settings.show_vendor %} <p itemprop="brand" class="product-single__vendor">{{ product.vendor }}</p> {% endif %} </div> </div>If you want to adjust the player’s size, feel free to change the 600px value to your preferred size. Once you’ve added the code, don’t forget to save your theme changes.
Step 3: Optionally Add Audio Players to Your Collection Pages
Want to extend the audio experience to your collection pages as well? Follow these steps:
- Copy the following code snippet to your clipboard:liquidCopy code
<div style="margin-top:-5px">{% render 'osaria-player', product: product %}</div> - Paste the snippet in your snippets/product-card-grid.liquid file where you want your audio players to appear, usually just below the product image. In some themes, this file may have a different name, so look for alternatives like product-card.liquid, product-card-item.liquid, or product-block.liquid. The code may look something like this:liquidCopy code
<div class="placeholder-background placeholder-background--animation" data-image-placeholder></div> </div> <div style="max-width:600px; margin-top:-5px">{% render 'osaria-player', product: product %}</div> <noscript> {% capture image_size %}{{ max_height }}x{{ max_height }}{% endcapture %} </noscript>Feel free to adjust the margin between the image and player by changing the -5px value. Once you’ve added the code, save your theme changes.
Step 4: Installation Instructions in Video
If you encounter any issues during installation or need additional assistance, don’t hesitate to contact the Osaria support team at contact@dawtemplatesmaster.com. They’ll be more than happy to help you with the app installation process.
Adding music players to your Shopify store can significantly enhance the shopping experience for your customers. Now that you’ve followed these steps, your store is ready to impress visitors with audio that complements your products. Enjoy the harmonious blend of e-commerce and music on your Shopify store!


